


 Tweet
Tweet
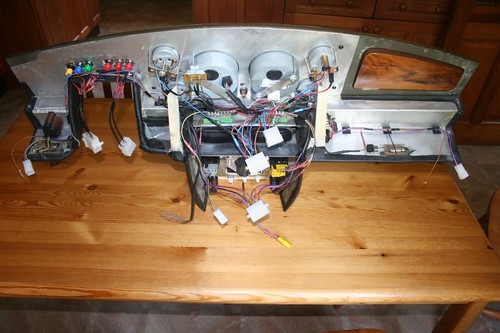
Re: Roadster dashboard
When I removed the loom I labeled everything that had a connection so my plan is to lay it out and open it all up then remove the unused wires before putting in place. To reduce on the spaghetti bundle behind the dash I also plan to cut out any excessive length. Could be fun, a bit of head scratching and quite possibly a few questions posted on here to you guys.
Cheers, Martin.


Comment