Announcement

Collapse
No announcement yet.

DRL152K Marina based roadster rebuild

Collapse
X
 
  • Filter
  • Time
  • Show
Clear All
new posts

  • #91
    Keep it coming, I'm really enjoying this thread.

    Adrian

    Comment


    • #92
      Hi Robin
      1) Will you have enough clearance for the wiring for the ignition switch, push start button and handbrake cable in that location , as surely the prop shaft is running very close to them?

      2) I note that the reverse light switch has yet to be installed in the gearbox , have you also sufficient clearance there to fit in situ?

      3) In the early 80's I helped build a Westfield SE with a Lotus Twincam. We also used an indicator switch like that. They were used on the early London Black Taxis and also milkfloats and were on a timed release.
      It is a good move as the Marina /Mini stalks don't always self cancel and in bright sunlight it is difficult to see the "tell tale" green dash light flashing.
      At least you have avoided that issue.
      Last edited by Ye Ol Ripper; 13-03-24, 05:37 PM.

      Comment


      • #93
        All comments greatfully recieved
        Ignition switch is quite short. ATM it looks like there is clearance! Handbrake cable is nowhere near...
        I am not bothering with a reversing light. I checked and it's not a legal requirement it seems.
        Cheers Robin

        Comment


        • #94
          With regards to the reversing light, I wired mine up and have found it extremely useful for when I reverse into my unlit garage, after a drive. Obviously our requirements /circumstances may be different, but at least something to consider
          Last edited by Ye Ol Ripper; 15-03-24, 05:23 PM.

          Comment


          • #95
            I have just about completed the wiring loom now. All I need is the engine and a few lights to connect up!
            I have confined a lot of the spaggetti to the dashboard.
            dashboard5 by Robin Martin, on Flickr
            The little button (temporarily) mounted on the steering wheel is actually a wireless horn button. The receiver is amongst the stuff on the rear of the dashboard. The plan is to bodge it around so that it sits behind the steering wheel central horn push.
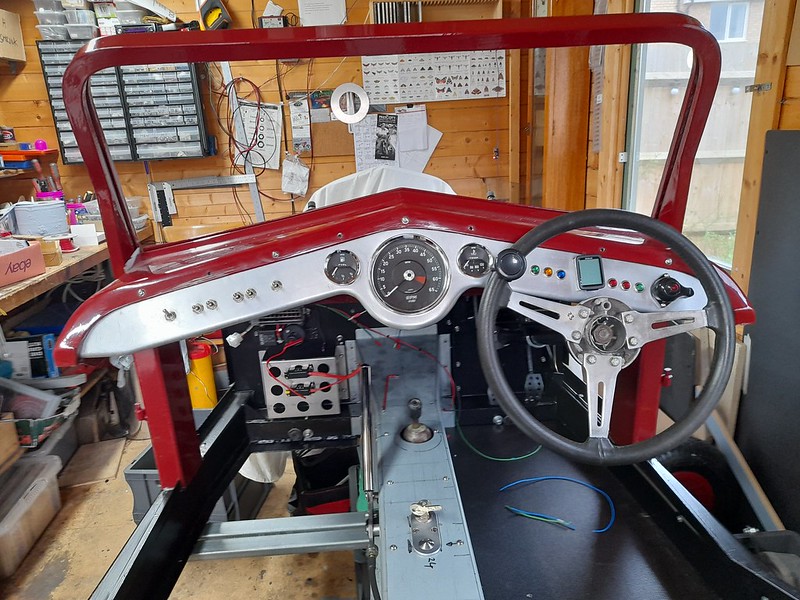
            dashboard4 by Robin Martin, on Flickr
            And a few more pictures of the rest of the wiring waiting to be connected up. All i need is the engine now!
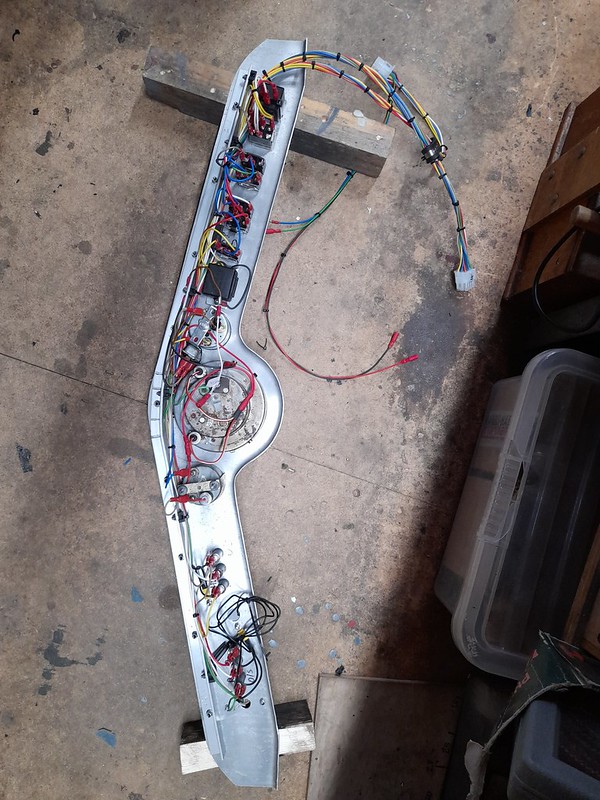
            loom2 by Robin Martin, on Flickr
            I have managed to keep the high current (starter motor) wiring nice and short. (Red)
            Not sure what route I am going to use yet to reach the rear of the car but it is all contained within one cable. (Black)
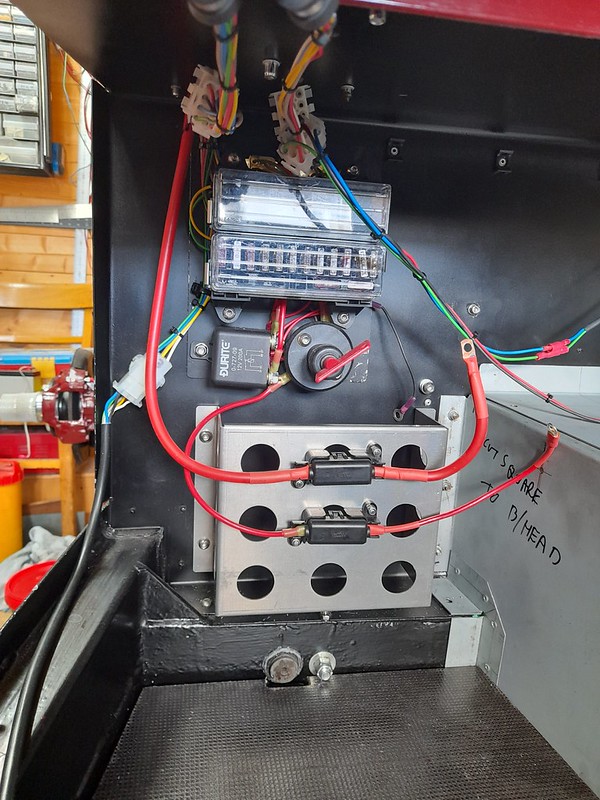
            loom3 by Robin Martin, on Flickr​

            Comment


            • #96
              I have been working on the heater install the last few weeks. I bought a (fairly expensive) heater from T7Design as the basis. I don't think it represented good value for money! When i took it to bits to modify slightly I found it just comprised a computer style fan, albeit a powerful one, and a heater matrix in a simple aly box. It would have been considerably cheaper to make it myself. Ho hum - you live and learn.
              The heater has 4 outlets, I used 2 for the demister vents and the others for the footwells. I added a 5th, with a little flappy outlet thingy, that points directly into the interior. The heater is supposed to be 3.5kw (hmmm) so I hope it will keep things toasty.
              I replaced the heater front panel with one of my one which also serves to mount it and carries the on off switch, the above mentioned 5th vent and will also act as a mount for a 12 volt socket and the choke cable.
              At the moment the heater is just configured for re-circulation, but I have allowed enough space behind it to allow for some ducting to the outside world should it prove necessary. For the moment I considered this a complication too far.
              I recently discovered the Car Builder Solutions catalog and this has provided the heater hoses with right angle bends. Very handy.

              heater1 by Robin Martin, on Flickr

              heater2 by Robin Martin, on Flickr

              heater3 by Robin Martin, on Flickr​

              Comment

              Working...
              X